Part 2: Preparing a Progressive Web Application for Production
Part 3: Hosting a Progressive Web Application with Firebase Hosting (this tutorial)
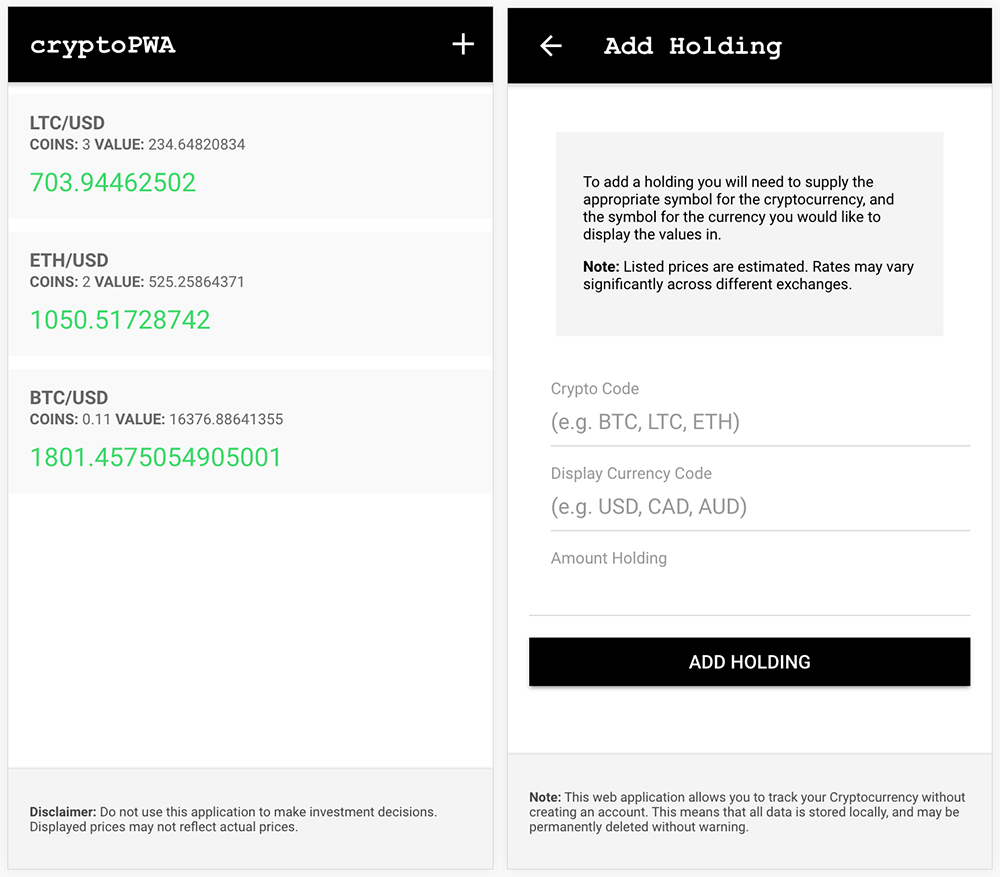
In the past couple of tutorials, we have been working on building a cryptocurrency price tracking application as a progressive web application in Ionic. In this tutorial, we are going to walk through how to host an Ionic PWA using Firebase Hosting.
Although this is the final post in a series of tutorials on building a PWA in Ionic, there is no need to read the previous tutorials if all you are interested in is hosting your own PWA. These steps are generic, and just assume that you have your PWA ready to upload.
Creating a Production Build
People are often confused by what steps need to be taken to “build” an Ionic PWA for production, and what exactly needs to be uploaded. To add to the confusion, there is a browser platform available through Cordova that you can use through the command line (just like you would build for iOS or Android).
It is not recommended that you use this. Justin Willis from the Ionic team has explained the reason for its existence and why the Ionic team does not recommend using it:
The command you actually need to run to build a PWA for production is this:
npm run ionic:build --prodor if you are still developing, you can leave off the --prod flag (it is important that you add it when you are deploying your application to production).
This will build your application in the www folder in your project, just like what happens when you use ionic serve to view your application.
All we need to do is host the contents of that www directory somewhere on the Internet. This could be as simple as dumping the contents of the www folder onto an Apache or nginx server like those available through Digital Ocean or Linode, or on a private network, or even just shared hosting. As long as people can access the files, you are pretty much good to go.
Firebase Hosting
In this example, we are going to use Firebase hosting. Firebase Hosting is very friendly for PWA deployment. There is no need to set up a complicated deploy process, you can just run a single command to upload the latest version of your application, and they have a very generous free tier.
At the time of writing this, the free hosting plan offers 1GB of storage and 10GB transfer. You even get a free SSL certificate so that you can serve your application over the https protocol without having to configure the certificate yourself (if you aren’t familiar with the process, configuring SSL certificates is a pain). You can also apply your own custom domain name on the free tier.
It’s important to note that you do not need to use other Firebase services in order to use Firebase Hosting. Firebase is a popular choice for backend development, and it is often used in Ionic applications. Hosting is a different service, and it doesn’t require that you are building a “Firebase app”.
Uploading an Ionic Application to Firebase Hosting
To get started, you might first want to take a look at the available plans, choose one that suits you, and create an account if you have not already.
If you have already signed up then you can make your way directly to console.firebase.google.com.
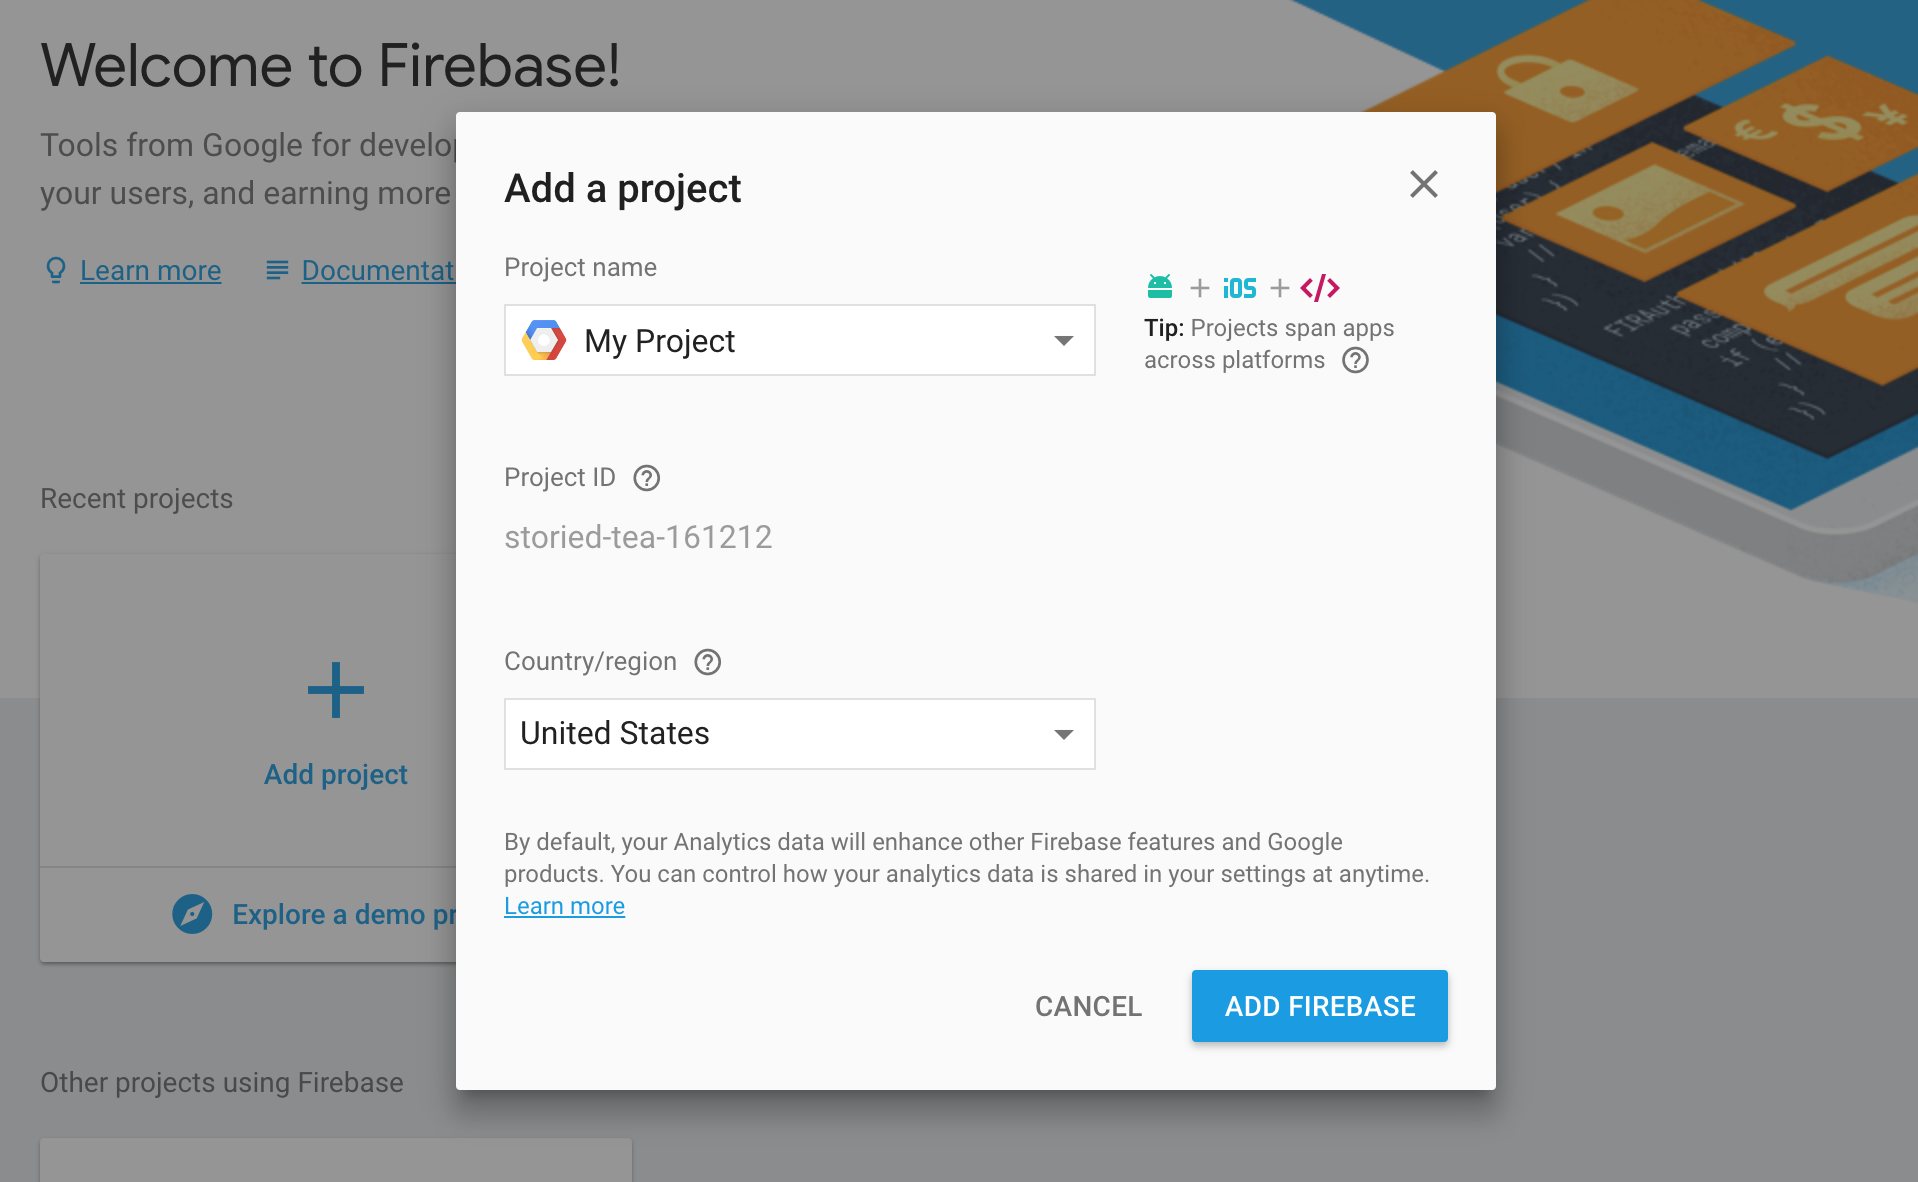
From here you will need to create a project, or use an existing project, to add Firebase hosting to:

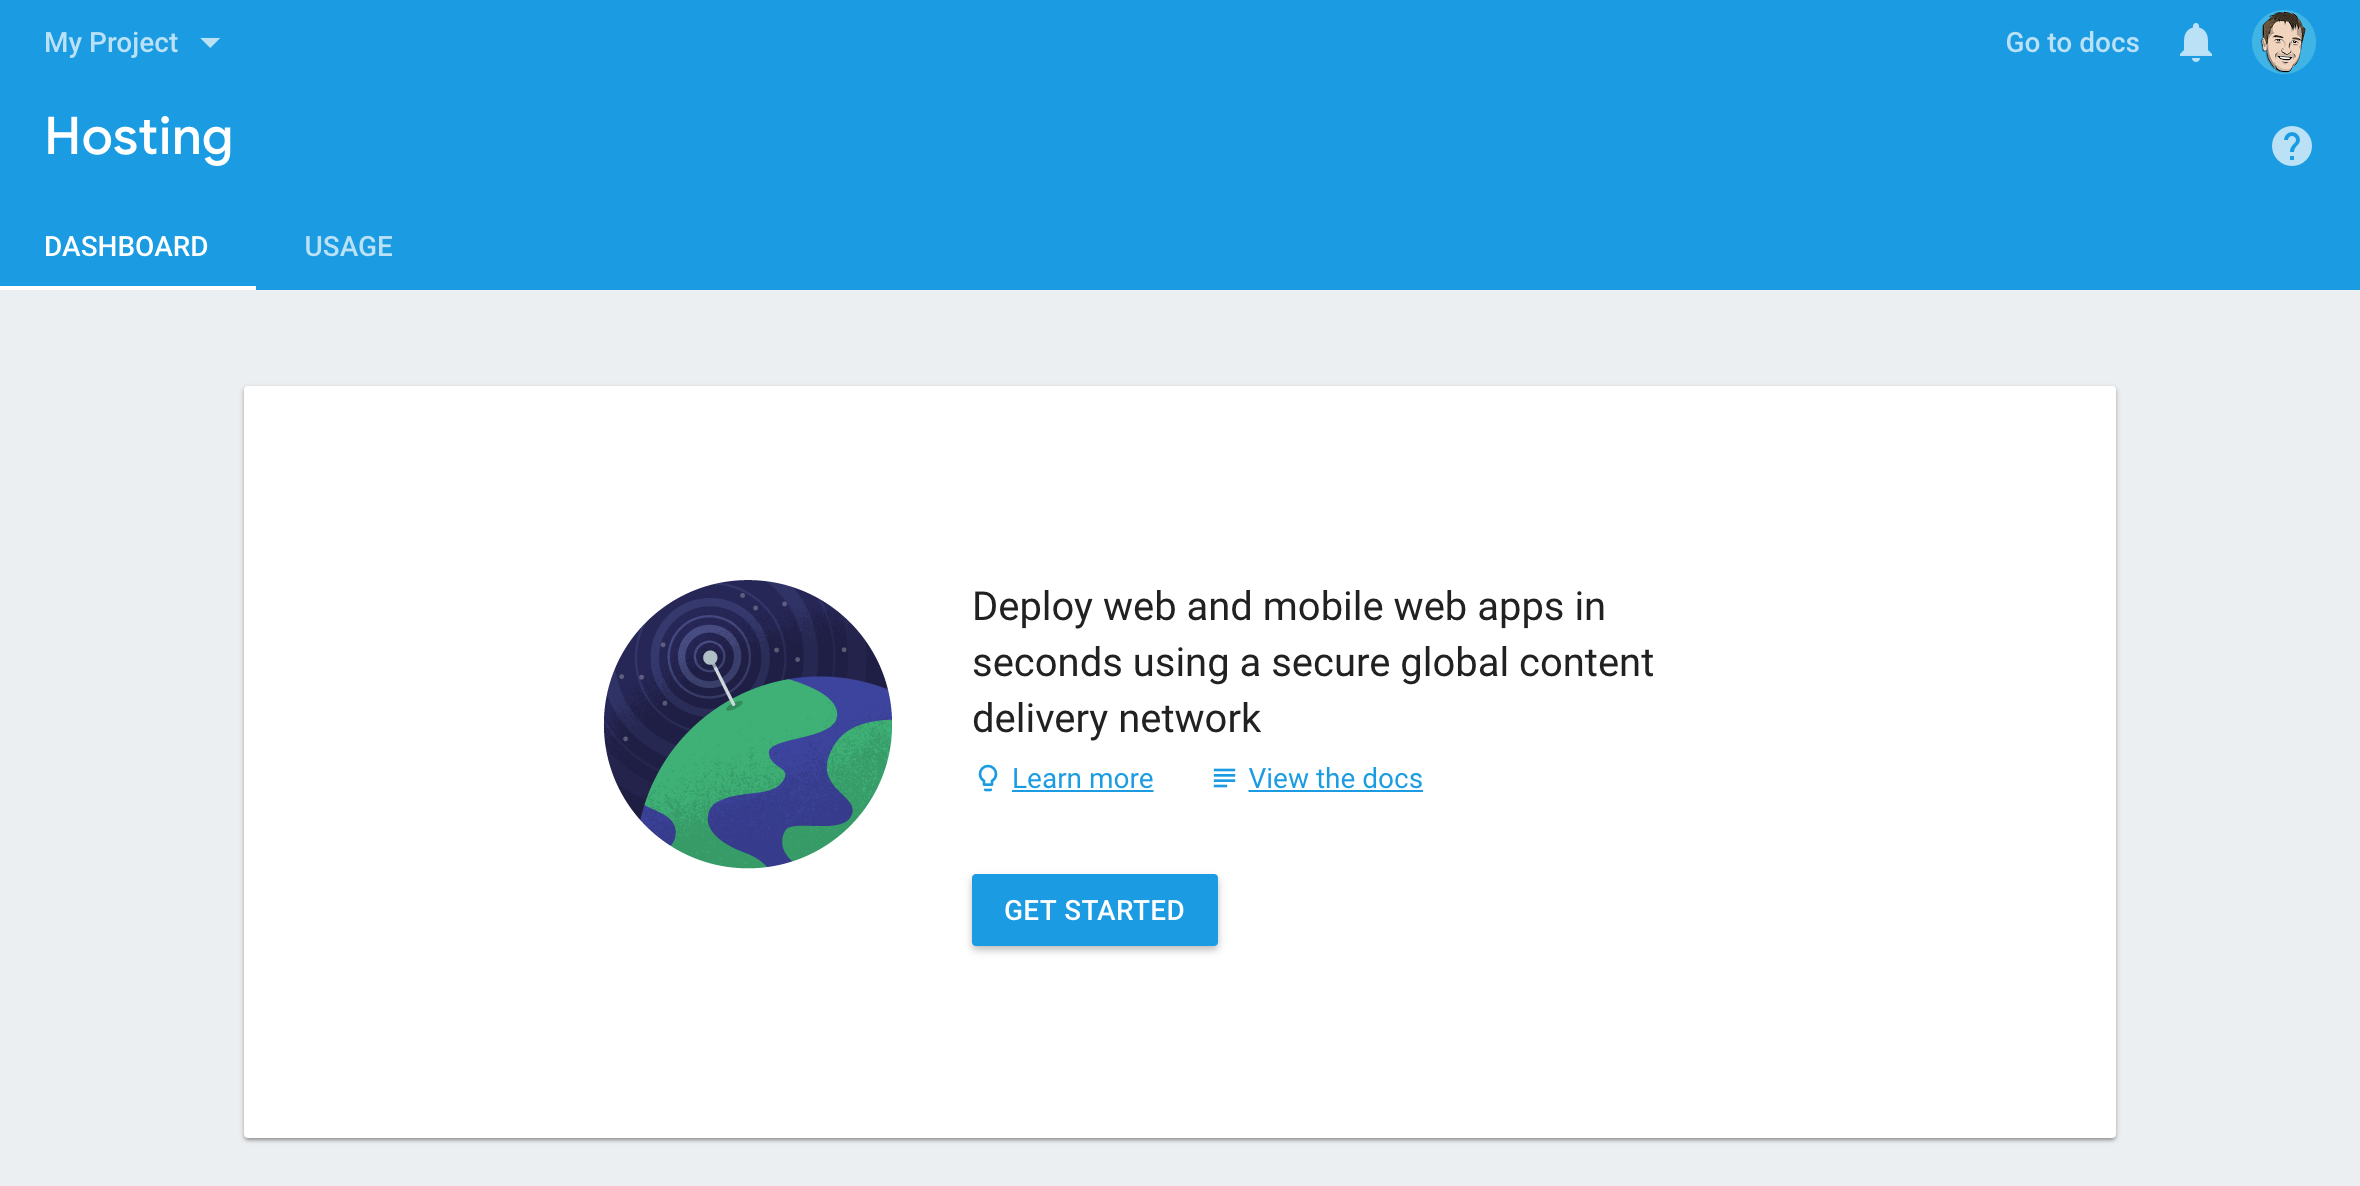
Once you have done this, you will be taken to the Firebase dashboard where you can access everything associated with the project (authentication, cloud functions, database etc.). We only need hosting in this instance, so you should click the Hosting option from the menu and you should come to a screen like this:

Click Get Started and it will prompt you through setting up the project. If you have not already done so, you will need to install the firebase-tools package globally:
npm install -g firebase-toolsThe -g flag means that it will be installed globally on your computer, not just in the current project. Once you have installed it once, you won’t need to reinstall it for future projects.
You will then need to log in to the Firebase tools:
firebase loginand then from the root of your Ionic project, you will need to run the following command:
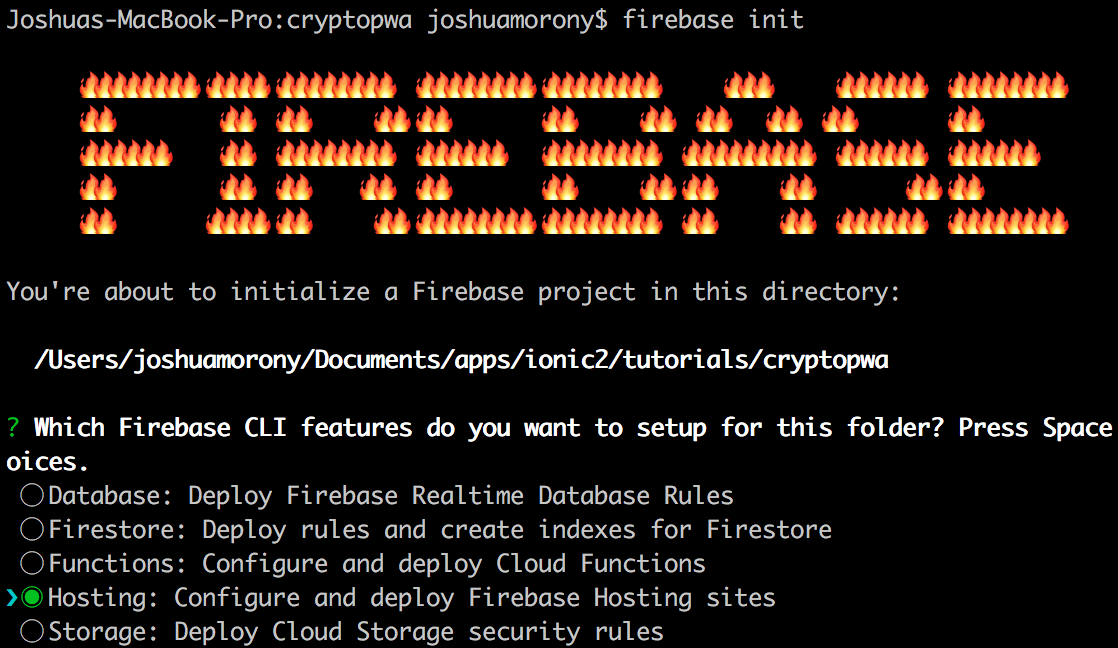
firebase initYou should then see some options that look like this:

Use the down arrow to navigate to the Hosting option, and then make sure to hit SPACE and then ENTER. You will then be given a list of projects that you can associate this Firebase project with – select the appropriate one and then hit ENTER.
Now we will need to go through configuring the project. Since the www folder contains out built code, this is the folder that we want to set as the public directory (i.e. the folder that we want to be uploaded to Firebase hosting). The rest of your answers should look like this:
? What do you want to use as your public directory? www
? Configure as a single-page app (rewrite all urls to /index.html)? Yes
? File www/index.html already exists. Overwrite? No
Once you have done this, you will find two new files in your project: firebase.json and .firebaserc.
Your firebase.json file should look like this:
{
  "hosting": {
    "public": "www",
    "ignore": [
      "firebase.json",
      "**/.*",
      "**/node_modules/**"
    ],
    "rewrites": [
      {
        "source": "**",
        "destination": "/index.html"
      }
    ]
  }
}
and the .firebasesrc file just defines the project that this application is associated with. With all of that done, all you need to do is run:
npm run ionic:build --prodIMPORTANT: Make sure to always run this command before deploying to Firebase hosting.
and then:
firebase deployOnce you run the deploy command, you will be given the Hosting URL that you can use to access your PWA hosted on Firebase! You will be able to use it just like you can through ionic serve, and you will be able to access it from your mobile device and add it to the home screen. If you’ve specified the standalone display option in your manifest.json file, the application will launch from your home screen just like a native application would.

Summary
One of the great things about progressive web applications is that there are far fewer hoops to jump through. No need to create provisioning profiles, signing keys, going through app store review processes, and so on. If we can also remove complexity from the hosting side of things, then it allows us to spend more time focusing on the application itself.
Firebase Hosting is a fantastic solution for this, but the Ionic team is also planning to release their own PWA hosting service in the future, so keep a look out for that!

