a.k.a: Converting a Native Android App to Sencha Touch: Part 3
Welcome to Part 3 of my blog series where I’m converting a native Android application I built into a Sencha Touch application. If you want to follow along from the start, you can check out this post.
Using JavaScript to create a stopwatch timer
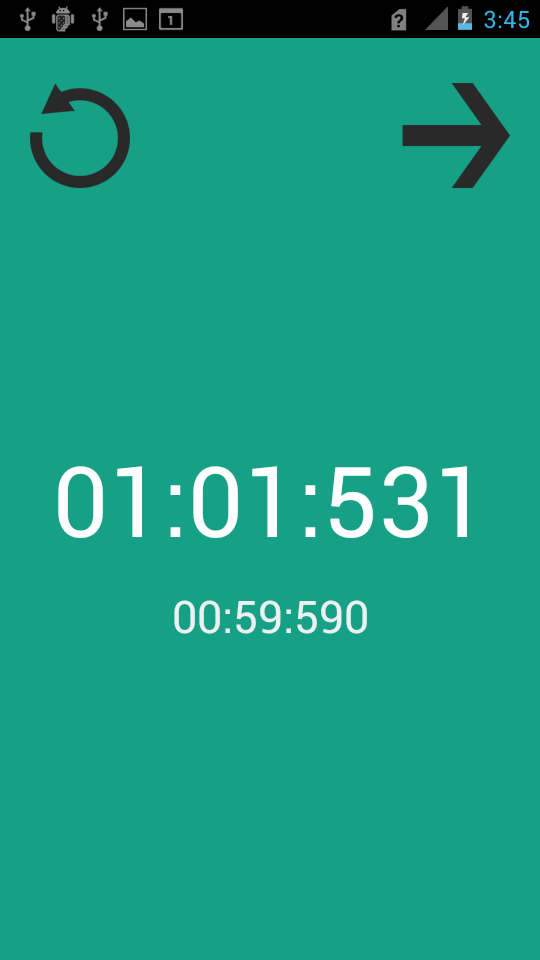
 As you can see in the screenshot, the original application supplied a stopwatch timer. This timer would be started when the user began a run, stopped when they finished and provided the ability to record laps as they were going. The timer would display hours, minutes and seconds to a hundredth of a millisecond. In Java I used a Runnable and relied on the SystemClock.uptimeMillis() to obtain the time. To do this with Sencha Touch I would have to use JavaScript instead.
Initially I tried keeping track of the time by calling a function that would record the time by incrementing a counter. This worked to an extent, but seconds were being recorded slightly too fast and eventually the clock would get more and more out of sync with the actual time. The second thing I tried (and ultimately the one that ended up working) was a modified version of some code supplied by a Stack Overflow user which you can find here. This method relies on the current date / time for calculating the timer values rather than incrementing a counter, so it does not get out of sync like the last method.
Implementing the timer in Sencha Touch
In order to get it to work within Sencha Touch’s MVC structure, a few changes were necessary but the bulk of the code is the same as the one I linked to. First I created a Stopwatch controller, which looks similar to the following (note that I have declared ‘currentTime’ as a global variable in app.js):
var clock = 0;

Ext.define('runtap.controller.StopWatch', {
  extend: 'Ext.app.Controller',

  config: {
    statics: {
      stopWatchInt: undefined,
    },
    refs: {
      stopWatchPanel: '#stopWatchPanel',
      timer: 'timer',
    },
    control: {
      timer: {
        toggleStartCommand: 'onToggleStartCommand',
      },
    },
  },

  controlTimer: function (action) {
    var actionType = action,
      offset,
      interval;

    options = {};
    options.delay = 1;

    function update(watchObj) {
      clock += delta();
      render(watchObj);
    }

    function render(watchObj) {
      var elapsedTime;
      var seconds = clock / 1000;
      var minutes = Math.floor(seconds / 60);
      var hours = Math.floor(minutes / 60);
      seconds = Math.floor(seconds % 60);
      var milliseconds = clock % 1000;

      //Display without hours
      elapsedTime = minutes < 10 ? '0' + minutes : minutes;
      elapsedTime += seconds < 10 ? ':0' + seconds : ':' + seconds;
      if (milliseconds < 10) {
        elapsedTime += ':00' + milliseconds;
      } else if (milliseconds < 100) {
        elapsedTime += ':0' + milliseconds;
      } else {
        elapsedTime += ':' + milliseconds;
      }

      watchObj.setHtml(elapsedTime);

      runtap.globals.currentTime = elapsedTime;
    }

    function delta() {
      var now = Date.now(),
        d = now - offset;

      offset = now;
      return d;
    }

    switch (actionType) {
      case 'Start':
        var thisScope = this;
        offset = Date.now();
        if (self.stopWatchInt != undefined) {
          clearInterval(self.stopWatchInt);
        }
        stopWatchInt = setInterval(function () {
          update(thisScope.getStopWatchPanel());
        }, options.delay);

        break;
      case 'Stop':
        clearInterval(stopWatchInt);
        stopWatchInt = undefined;
        break;
      case 'Reset':
        clock = 0;
        clearInterval(stopWatchInt);
        stopWatchInt = undefined;
        this.getStopWatchPanel().setHtml('00:00:000');
        break;
    }
  },
});
Now whenever I want to start timer I can call
runtap.app.getController("StopWatch").controlTimer("Start")```

and I can call "Stop" and "Reset" in the same manner. The only piece of the puzzle left now is the panel that displays the time, this is simply a panel with the id property set to 'stopWatchPanel'. This allows us to reference the panel in the controller using:

```javascript
refs: {
    stopWatchPanel : '#stopWatchPanel',
    timer: 'timer'
},
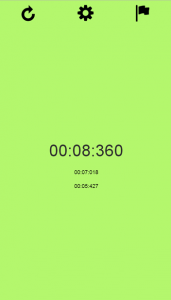
In testing the application in comparison with the Android version, the timer for the most part seems to operate just as smoothly. There are times when the stopwatch will lag a little, but it is only briefly and it does not cause the timer to become out of sync with the actual time. Overall I’m very happy with this solution. Here’s a quick look at what the new version of the application looks like so far:
See you next time!
UPDATE: I’ve just uploaded Part 4 of this series


