In the last part of this tutorial, we started working our way through building a Christmas themed game in Phaser. If you haven’t read Part 1 yet, click the link below to catch up:
Creating a Christmas Themed Game with Phaser: Part 1
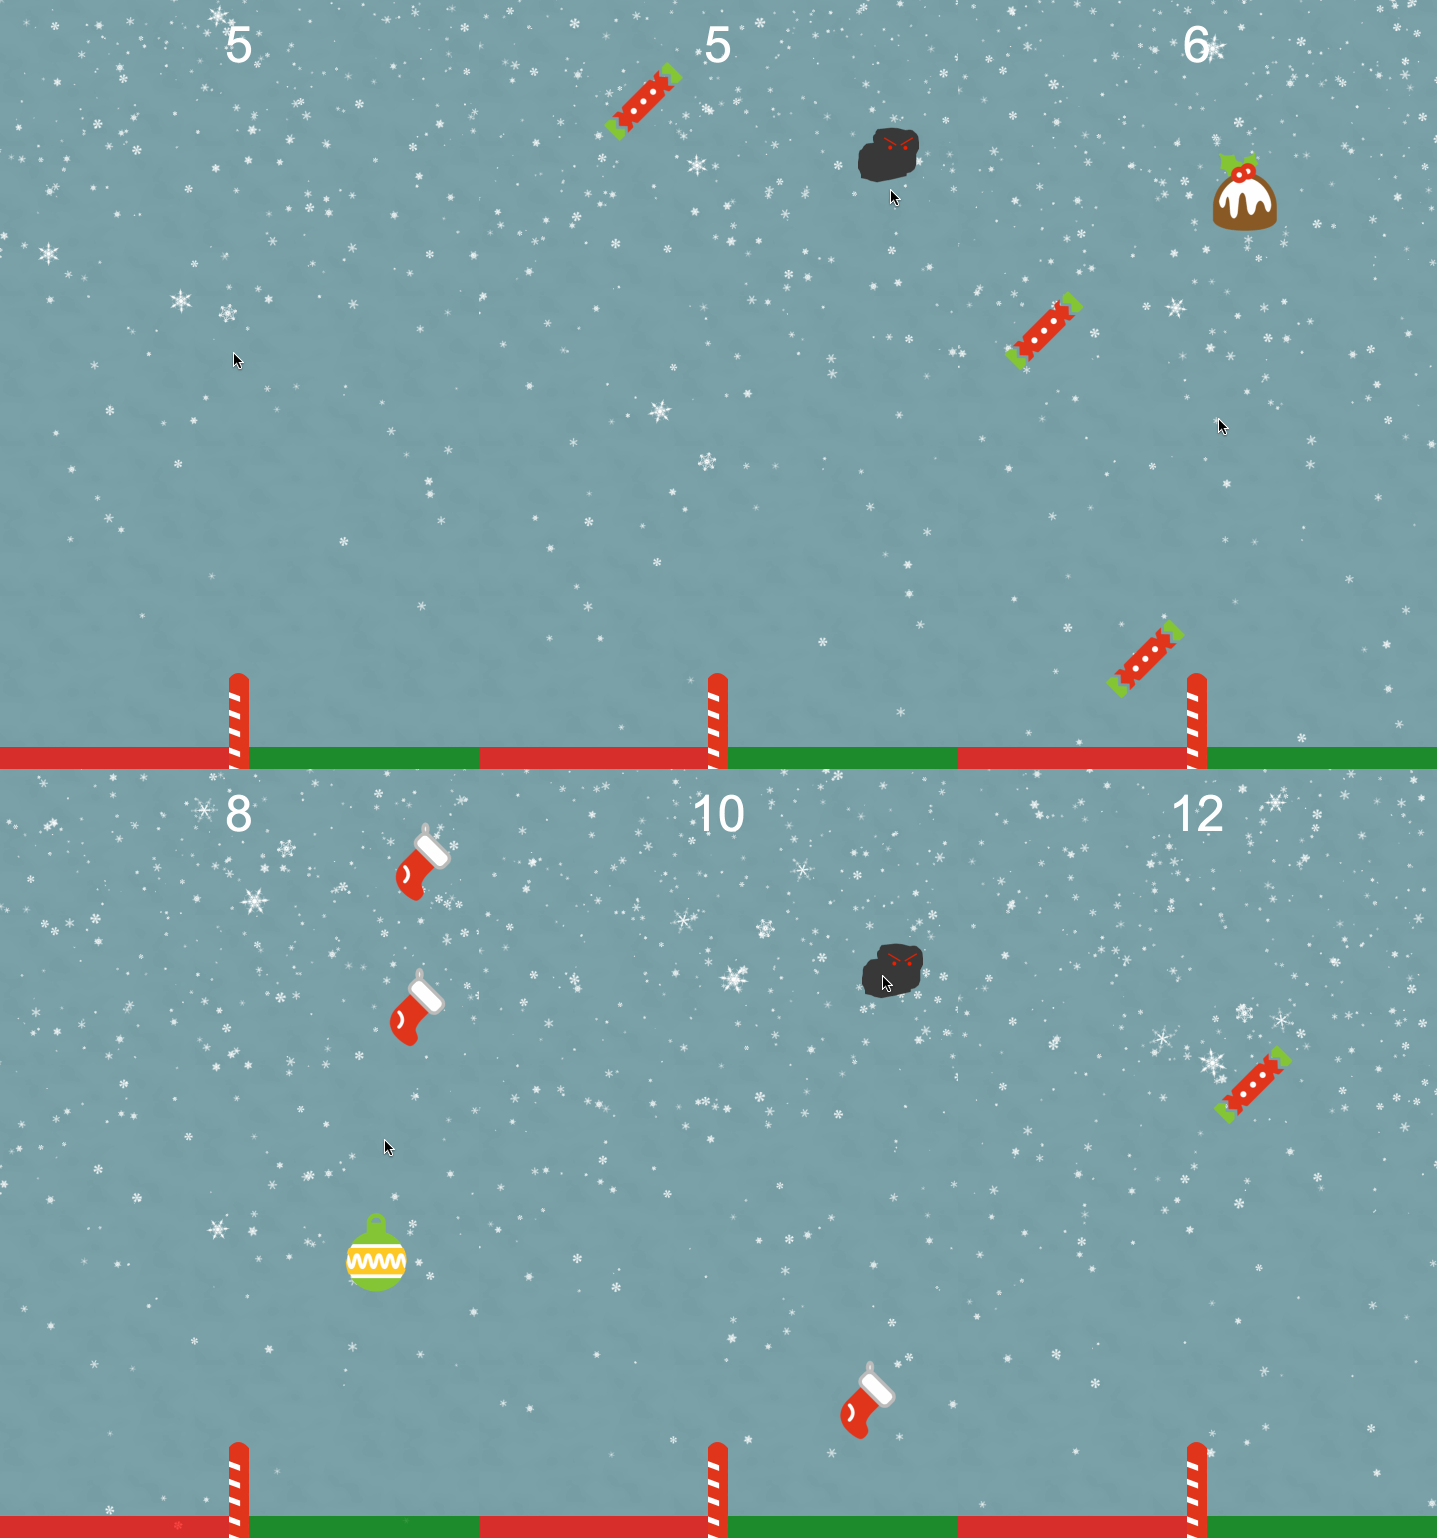
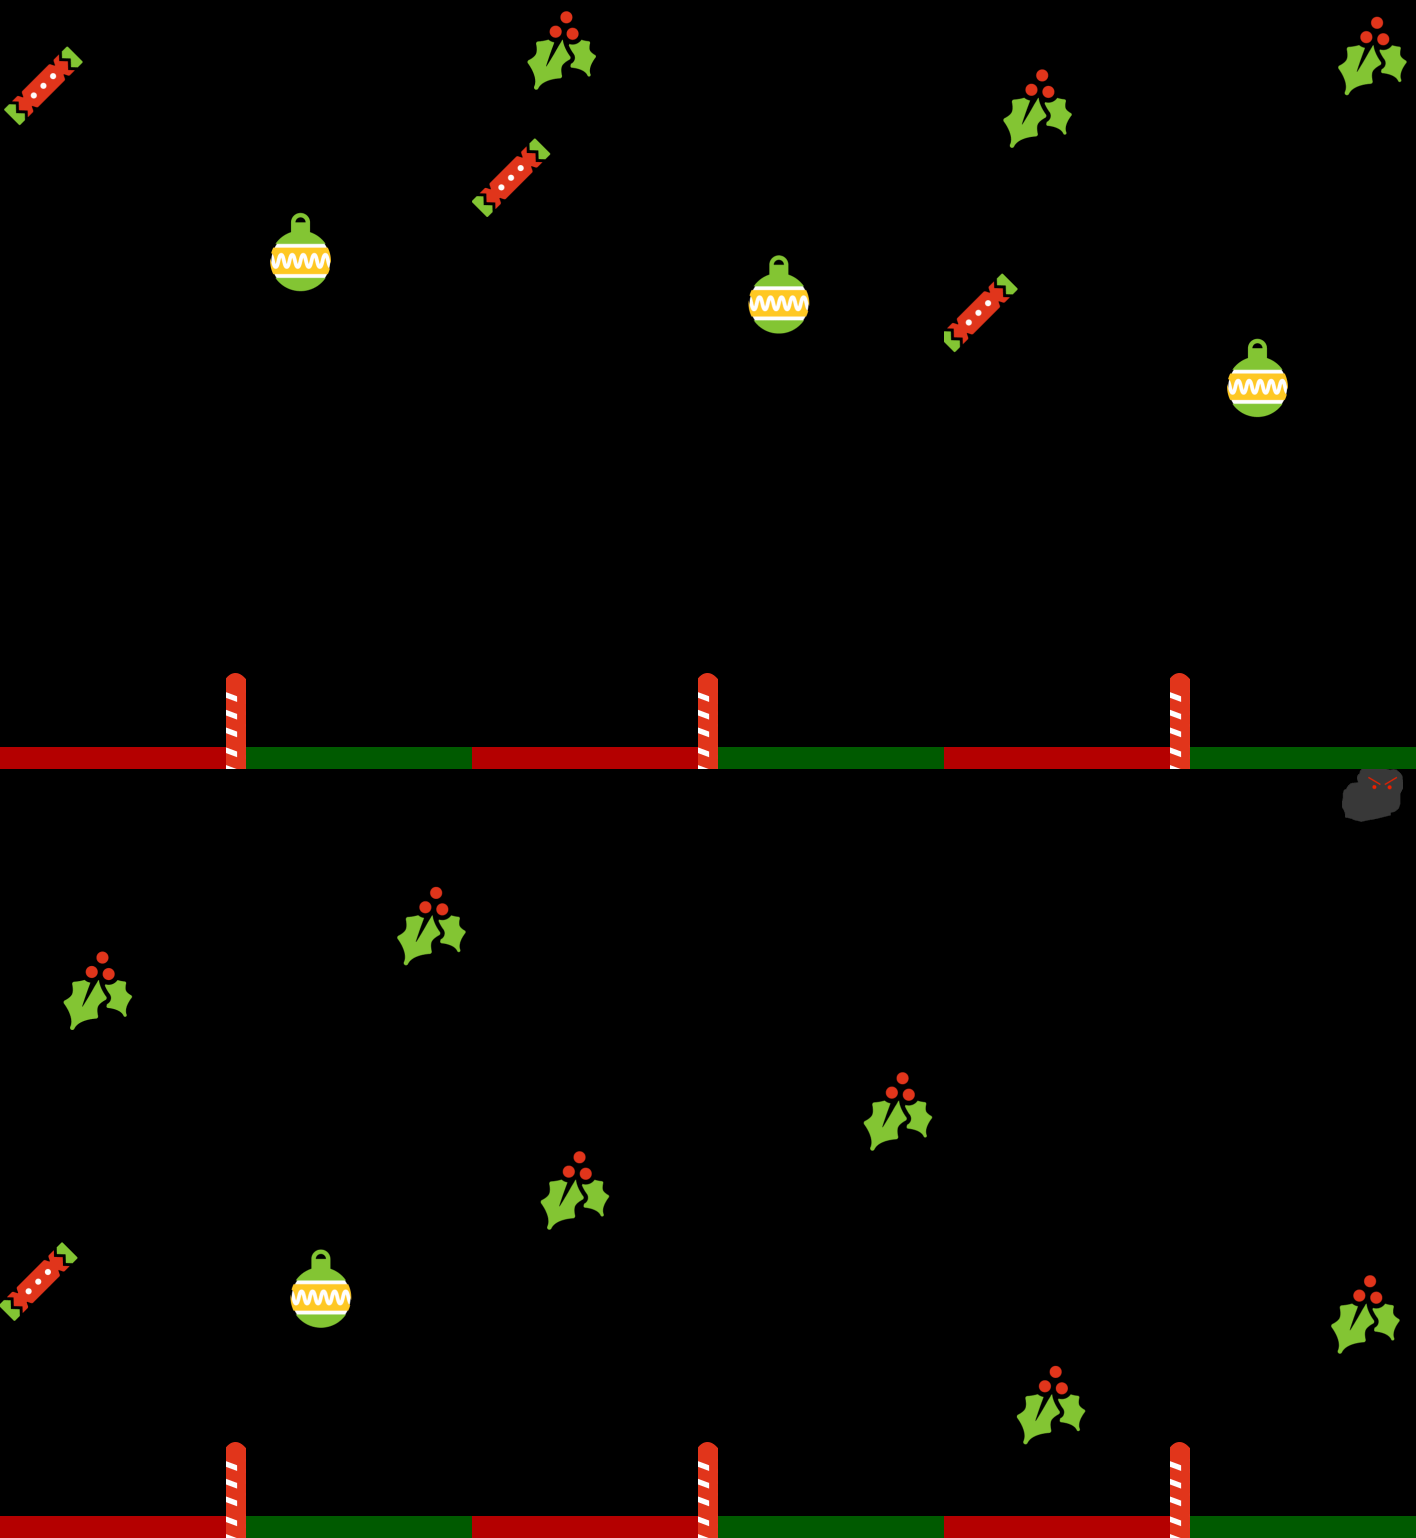
To quickly refresh your memory though, this is what we are trying to build:

and this is where we’ve got to so far:

We’re most of the way there already, but we still need to do the following things to finish it off:
- Enable input events so that the player can fling items to sort them
- Add a scoring mechanism
- Add a snowing effect to the background
- Add some festive music
So, let’s get right into it!
Enabling Input on the Sprites
We want to allow the player to swipe over the present sprites to fling them in whatever direction they choose, which will allow the player to sort them into the good and the bad sides. To do this, we are going to enable input events on the sprites (which are turned off by default) and then add a couple of handler functions to handle the swiping.
Modify the initPresents function in main.js to reflect the following:
initPresents: function(){

		var me = this;

		//Initialise presents
		for(var i = 0; i <= 20; i++){
			var sprite = me.presents.create(-200, -200, 'presents', null, false);
			me.game.physics.arcade.enable(sprite);
			sprite.enableBody = true;
			sprite.body.bounce.set(0.8);
			sprite.body.gravity.y = 500;
			sprite.body.collideWorldBounds = true;

			sprite.inputEnabled = true;
			sprite.events.onInputDown.add(me.onDown, me);
			sprite.events.onInputUp.add(me.onUp, me);
		}
	},
You will notice we have added three new lines at the bottom here. This first enables input on the sprites as we create them, and then adds the onUp and onDown handlers. We’re going to create those now.
Add the following functions to your main.js file:
onDown: function(sprite, pointer){
        sprite.downX = pointer.x;
        sprite.downY = pointer.y;
    },

    onUp: function(sprite, pointer){

        var x = pointer.x - sprite.downX;
        var y = pointer.y - sprite.downY;

        sprite.body.velocity.x += 2 * x;
        sprite.body.velocity.y -= 700;

    },
The onDown function is quite simple, we simply want to keep track of where the player initally tapped by adding some custom properties, downX and downY, to the sprite object. The onUp function will be called once the user releases, and then we compare the initial point to the point of release to determine how much velocity we should add to the sprite (and in what direction).
If you load up your game in your browser now, you should be able to fling the presents across the screen.
Adding a Scoring Mechanism
The last thing we need to do functionality wise is to add some scoring to the game, all the rest is just jingle bells and whistles. There’s going to be a couple steps involved with this because we first need to add a scoreboard to the game, and then we also need a way to increment it when the user gains points (which will be each time they correctly sort a present).
Add the following function to your main.js file:
createScore: function(){

        var me = this;
        var scoreFont = "100px Arial";

        me.scoreLabel = me.game.add.text((me.game.world.centerX), 100, "0", {font: scoreFont, fill: "#fff"});
        me.scoreLabel.anchor.setTo(0.5, 0.5);
        me.scoreLabel.align = 'center';

    },
This function will handle adding a score label to the screen which will serve as our scoreboard, but in order for it to actually be added we will need to call this function from the create method.
Add the following code to the create method in main.js
<br />        me.score = 0;

        //Create the score label
        me.createScore();
In order to keep track of the score, we also add a score variable here. We will also need another function to handle incrementing the users score:
incrementScore: function(){

        var me = this;

        me.score += 1;
        me.scoreLabel.text = me.score;

    }
This simply increments the current score by one and then updates the label. Finally, we just need to call the incrementScore function whenever the user scores.
Modify the update method in main.js to reflect the following:
update: function() {

        var me = this;
        me.game.physics.arcade.collide(me.presents, me.dividerSprite);

        //Detect if in good / bad area
        me.presents.forEachAlive(function(present){
            if(present.body.y > me.game.world.height - 200){

                if(present.body.x > me.game.world.centerX && present.frameName != "coal.png"){
                    me.incrementScore();
                }
                else if(present.body.x < me.game.world.centerX && present.frameName == "coal.png"){
                    me.incrementScore();
                }
                else {
                    me.game.state.restart();
                }

                present.kill();

            }
        });
    },
Now we are incrementing the score every time a user correctly sorts a present, and when they incorrectly sort a present the game is restarted.
Adding a Snow Effect
The background for our game is pretty dark and boring right now, so we’re going to spruce it up with a bit of a snowing effect. The black background also looks a little bit silly, so let’s first change the colour of that.
Add the following line to the create method in main.js
me.bgtile = me.game.add.tileSprite(
  0,
  0,
  me.game.world.bounds.width,
  me.game.world.bounds.height,
  'bgtile'
);
We haven’t just changed the colour, we’re using a repeating image for the background (which is included in the download pack). I’ve created a very subtle texture for the background which I think makes it look a little nicer, but you can also just use a solid colour if you’d like.
The snow effect is quite complicated – we’ll be using particle effects with some reasonably complicated functions to control it. We’ll be implementing this example which is available on the Phaser website.
First, we are going to add a couple of functions to create and control the snow.
Add the following functions to your main.js file:
createSnow: function(){

        var me = this;

        me.back_emitter = game.add.emitter(game.world.centerX, -32, 600);
        me.back_emitter.makeParticles('snowflakes', [0, 1, 2, 3, 4, 5]);
        me.back_emitter.maxParticleScale = 0.6;
        me.back_emitter.minParticleScale = 0.2;
        me.back_emitter.setYSpeed(20, 100);
        me.back_emitter.gravity = 0;
        me.back_emitter.width = game.world.width * 1.5;
        me.back_emitter.minRotation = 0;
        me.back_emitter.maxRotation = 40;

        me.mid_emitter = game.add.emitter(game.world.centerX, -32, 250);
        me.mid_emitter.makeParticles('snowflakes', [0, 1, 2, 3, 4, 5]);
        me.mid_emitter.maxParticleScale = 1.2;
        me.mid_emitter.minParticleScale = 0.8;
        me.mid_emitter.setYSpeed(50, 150);
        me.mid_emitter.gravity = 0;
        me.mid_emitter.width = game.world.width * 1.5;
        me.mid_emitter.minRotation = 0;
        me.mid_emitter.maxRotation = 40;

        me.front_emitter = game.add.emitter(game.world.centerX, -32, 50);
        me.front_emitter.makeParticles('snowflakes_large', [0, 1, 2, 3, 4, 5]);
        me.front_emitter.maxParticleScale = 1;
        me.front_emitter.minParticleScale = 0.5;
        me.front_emitter.setYSpeed(100, 200);
        me.front_emitter.gravity = 0;
        me.front_emitter.width = game.world.width * 1.5;
        me.front_emitter.minRotation = 0;
        me.front_emitter.maxRotation = 40;

        me.changeWindDirection();

        me.back_emitter.start(false, 14000, 20);
        me.mid_emitter.start(false, 12000, 40);
        me.front_emitter.start(false, 6000, 1000);
    },

    changeWindDirection: function() {

        var me = this;

        var multi = Math.floor((me.max + 200) / 4),
            frag = (Math.floor(Math.random() * 100) - me.multi);
        me.max = me.max + frag;

        if (me.max > 200) me.max = 150;
        if (me.max < -200) me.max = -150;

        me.setXSpeed(me.back_emitter, me.max);
        me.setXSpeed(me.mid_emitter, me.max);
        me.setXSpeed(me.front_emitter, me.max);
    },

    setXSpeed: function(emitter, max) {
        var me = this;
        emitter.setXSpeed(max - 20, max);
        emitter.forEachAlive(me.setParticleXSpeed, this, max);
    },

    setParticleXSpeed: function(particle, max) {
        particle.body.velocity.x = max - Math.floor(Math.random() * 30);
    },
As you can see, it’s reasonably complicated. The createSnow function handles creating the particle emitters – I won’t go into much detail about what particle emitters are here, but if you want a bit more detail you can read one of my other tutorials on building a flappy bird cross jetpack game in Phaser. Essentially though, particle emitters take some assets (the snowflake sprites in this case) and generate them on the screen over time – either in a single burst or over a long period of time.
We’ve set a bunch of properties on the emitter to control things like how fast the particles should move, how big the should be, how many there should be and so on. We’ve also added a function to change the wind direction, which basically just reverses the direction of the snow. In order to change the wind direction throughout the game, we will need to add some code to the update method.
Modify the update method in main.js to include the following:
//Snow Effect
me.i++;

if (me.i === me.update_interval) {
  me.changeWindDirection();
  me.update_interval = Math.floor(Math.random() * 20) * 60; // 0 - 20sec @ 60fps
  me.i = 0;
}
Now we need to call the createSnow function from our create method, and we also need to define a few variables to keep track of.
Add the following code to create method in main.js
//Snow settings
me.max = 0;
me.front_emitter = null;
me.mid_emitter = null;
me.back_emitter = null;
me.update_interval = 4 * 60;
me.i = 0;

me.createSnow();
If you open up the game now, you should be able to see a very festive snow effect.
Add Music
The final touch to the game is to add some festive music! I’ve included Deck the Halls from Singing Bell in the game which is available royalty free. We’ve already got the song preloaded from the last part so all we need to do now is trigger it.
Add the following code to the create method in main.js:
me.track = me.game.add.audio('song', 1, true);
me.track.play();
This will play the track on loop as soon as the game starts. We also want to stop the track when the player loses though, so we will need to add some code to make the track stop.
Modify the update method in main.js to reflect the following:
update: function() {

        var me = this;
        me.game.physics.arcade.collide(me.presents, me.dividerSprite);

        //Snow Effect
        me.i++;

        if (me.i === me.update_interval){
            me.changeWindDirection();
            me.update_interval = Math.floor(Math.random() * 20) * 60; // 0 - 20sec @ 60fps
            me.i = 0;
        }

        //Detect if in good / bad area
        me.presents.forEachAlive(function(present){
            if(present.body.y > me.game.world.height - 200){

                if(present.body.x > me.game.world.centerX && present.frameName != "coal.png"){
                    me.incrementScore();
                }
                else if(present.body.x < me.game.world.centerX && present.frameName == "coal.png"){
                    me.incrementScore();
                }
                else {
                    me.track.stop();
                    me.game.state.restart();
                }

                present.kill();

            }
        });
    },
Now whenever we restart the game we also stop the music. Once you’ve made that update, the game should be all finished. Load it up in your browser and you should see something like this: [GIF]
with some very annoying music playing on loops.
Summary
This was a pretty simple game overall and just a bit of fun to get in the holiday spirit, but we’ve covered quite a few Phaser concepts like:
- Creating sprites and using an atlas
- Detecting positions of sprites
- Enabling input
- Using particle emitters
- Including music
as well as plenty of other stuff as well. As always, I’d encourage you to make your own modifications to this game and see what you can come up with!

