In the past, I’ve extensively covered how to use the Google Maps JavaScript SDK in Ionic 2, Ionic 1, and even other HTML5 mobile frameworks. These are some of my most viewed tutorials because maps are such a widely used feature in mobile applications, so it’s important that we can do it well.
I’ve always been a fan of the web based Javascript SDK – I think it does a great job and performs well as long as the application is designed well. There is another option available for Google Maps though, and that is the Google Maps plugin for Cordova. This plugin will allow you to use the native iOS and Android SDKs in your Cordova application to implement maps, rather than using the web based version.
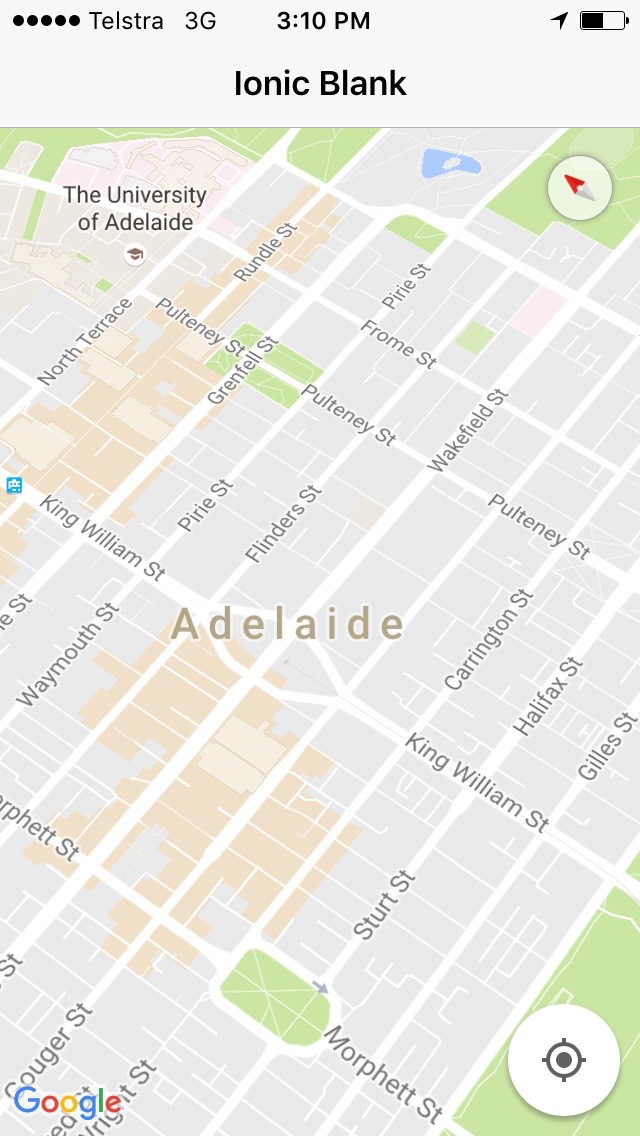
Here’s a quick look at what we will be building in this tutorial:
What’s the Difference?
So we have two ways to implement Google Maps, one web based and one native – but what’s the difference and which one is better? There are a few points to consider.
The Javascript SDK uses more mobile data, and the experience won’t be as smooth as the native version. As the user views a map in this web based version, data tiles in .png format are loaded in on the fly. This is worse for data consumption and can cause the user to have to wait longer for chunks of the map to load in. If you would like more details on this point, check out this article.
The Native SDKs require Cordova, so will only run when installed on devices, not through the browser. If you only need to support iOS and Android then this isn’t a problem, but with the rising popularity of progressive web apps you may want to have your app available through the mobile web as well.
Finally, the Native SDK Cordova plugin is an abstraction on top of the individual iOS and Android SDKs, which allows us to interact with the SDKs from our mobile app, but also adds an extra layer where bugs can creep in. There are quite a few known issues with this plugin. When you use the Javascript SDK you are using the code directly from Google, so it is the more stable option.
Scored on those points above, it’d be a tie between the JavaScript SDK and the Native SDK, so the answer to the question of “which one is better?” would be the ever popular: it depends. You’ll have to consider the requirements of your application and make a decision based on that.
Before we Get Started
Before you go through this tutorial, you should have at least a basic understanding of Ionic 2 concepts. You must also already have Ionic 2 set up on your machine.
If you’re not familiar with Ionic 2 already, I’d recommend reading my Ionic 2 Beginners Guide first to get up and running and understand the basic concepts. If you want a much more detailed guide for learning Ionic 2, then take a look at Building Mobile Apps with Ionic 2.
1. Generate a New Ionic 2 Application
Let’s get started by creating a new Ionic 2 application. It’s just going to be a single page app with no providers or anything fancy going on, so we’ll just have to run the one command.
Run the following command to generate a new Ionic 2 application:
ionic start ionic2-native-maps blank --v2We are also going to set up the iOS and Android platforms in the application. The iOS platform is already installed by default, but that uses the latest version of Cordova, and this plugin is unfortunately not compatible with Cordova Version 4.x. So we will need to remove the iOS platform, and add it with an older version of Cordova instead.
Run the following commands to set up the iOS platform:
ionic platform remove ios
ionic platform add ios@3.9.0
If you do not do this, you will get an error when trying to build the application for iOS.
Run the following command to set up the Android platform:
ionic platform add android2. Set up the Google Maps Plugin
Now we need to set up the Google Maps Cordova plugin, which is probably the trickiest part of this tutorial. Before we install the plugin we need to generate API keys for both iOS and Android. There are a few steps involved, and it differs depending on your operating system, so make sure to carefully follow one of the tutorials below to generate your API keys:
Generating the API keys is reasonably straightforward, but there are a couple things you should watch out for:
- Make sure that the package name you supply (
com.example.myapp) matches the one in the config.xml file in your project - Make sure to
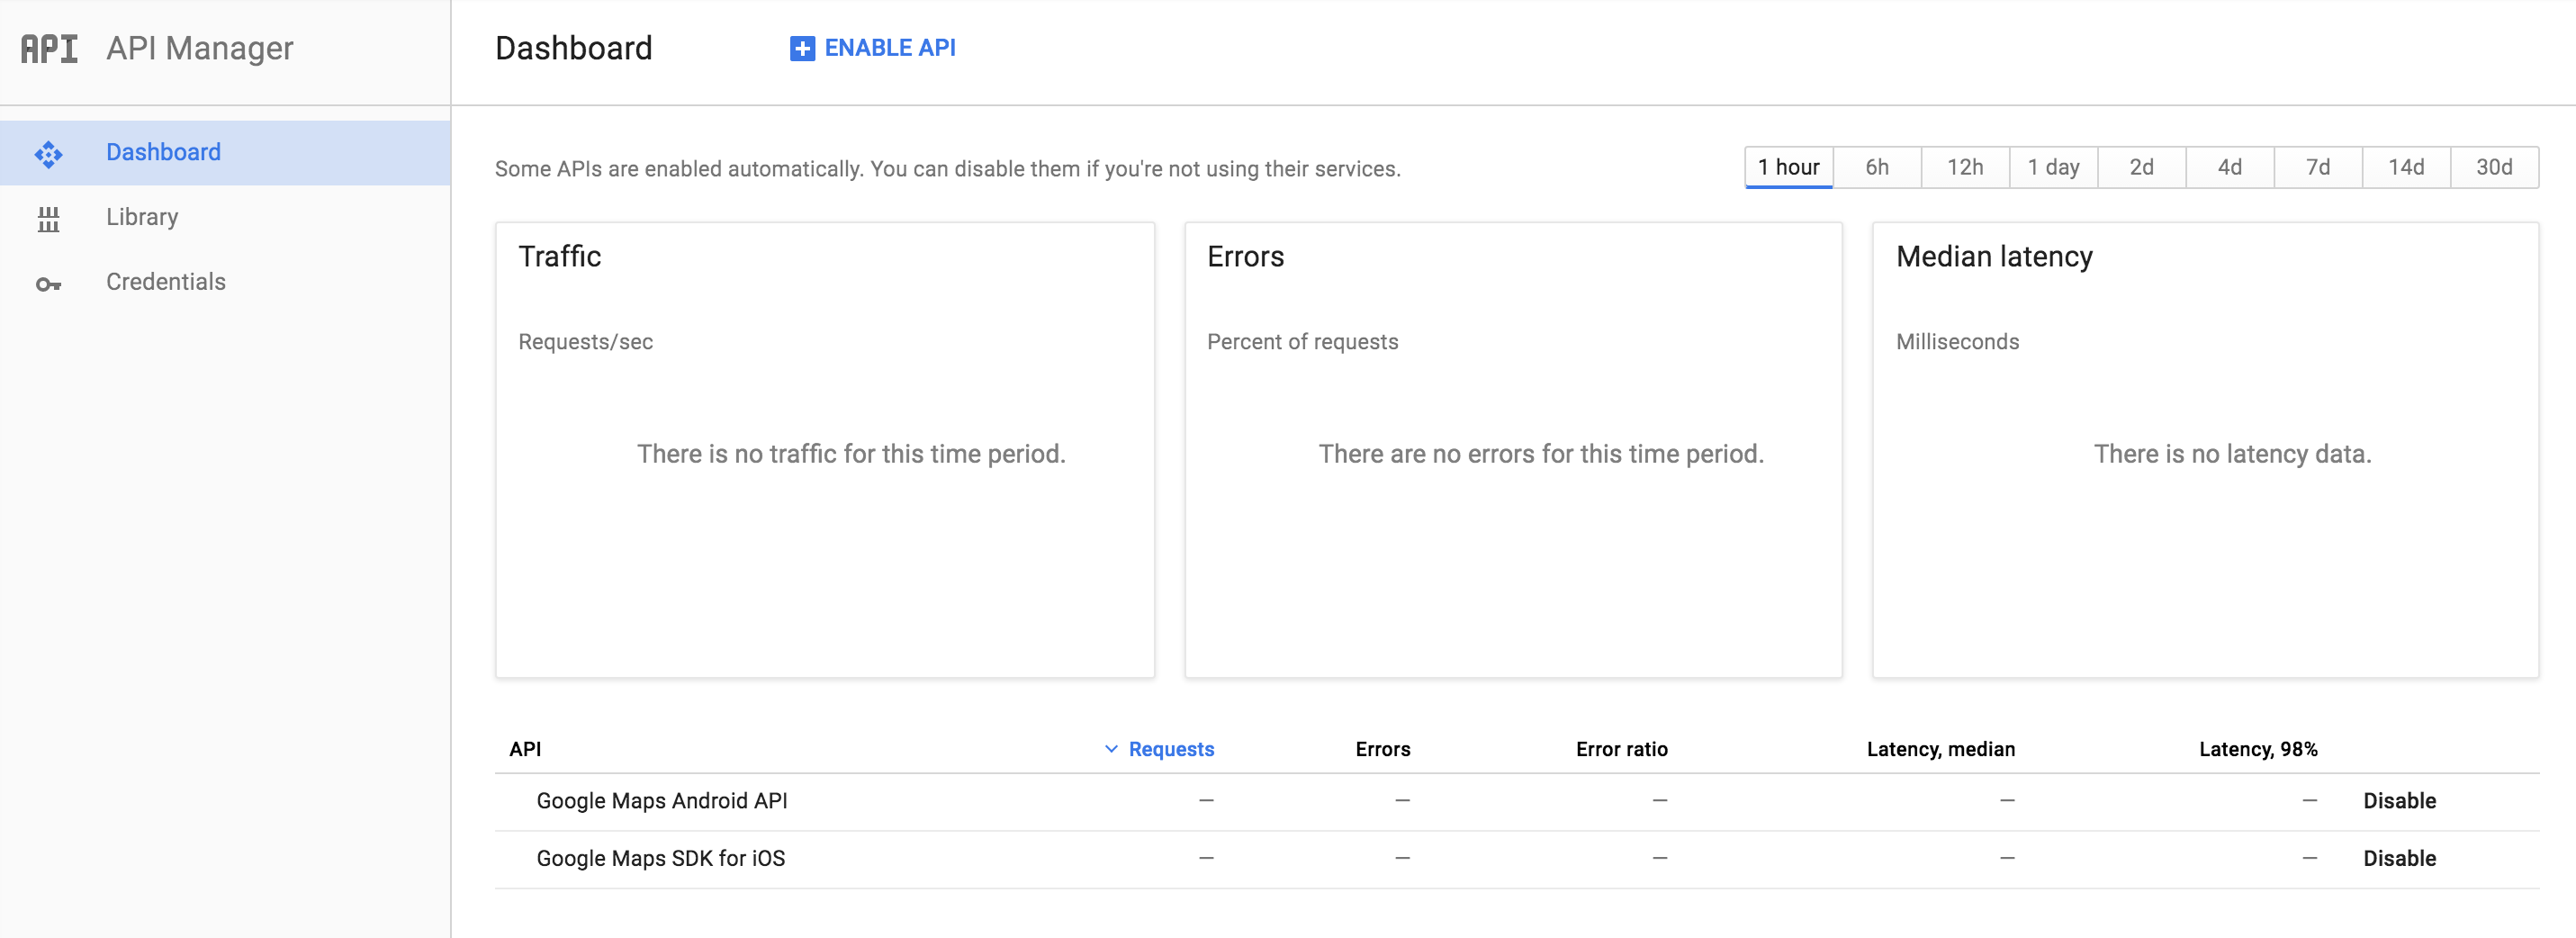
ENABLEboth the Google Maps Android API and the Google Maps SDK for iOS, you should be able to see both APIs listed here:
If you receive an error like the following:
Error Domain=com.google.HTTPStatus Code=400It is probably because the API was not enabled correctly (I may know this because I forgot to enable the iOS API). Once you have your API keys, you will need to supply them to the installation command for the plugin.
Run the following command, and make sure to add your own API keys to it:
ionic plugin add cordova-plugin-googlemaps --variable API_KEY_FOR_ANDROID="YOUR_ANDROID_API_KEY_IS_HERE" --variable API_KEY_FOR_IOS="YOUR_IOS_API_KEY_IS_HERE"The plugin should now install for both the iOS and Android platforms.
3. Set up the Template
When we initialise the Google Maps plugin, we will need to have a container for it in our template that we can refer to. Setting that up is easy enough.
Modify home.html to reflect the following:
<ion-header>
  <ion-navbar>
    <ion-title> Ionic Blank </ion-title>
  </ion-navbar>
</ion-header>

<ion-content>
  <div id="map"></div>
</ion-content>
Now we have a container with an id of map that we will refer to later. There are a couple more steps we need to take though. We need to add some styling to this container so that it displays at full height (otherwise we won’t be able to see the map, instead you will just see a blank white space), and there is also a display issue with Ionic 2 that blocks the map (the map will just display as a blank black space). So let’s add some styles to deal with both of these issues.
Modify home.scss to reflect the following:
ion-app._gmaps_cdv_ .nav-decor {
  background-color: transparent !important;
}

home-page {
  #map {
    height: 100%;
  }
}
4. Initialise Google Maps
This is the fun part, we are now going to set up Google Maps in our HomePage class. Ionic Native provides a wrapper for the Google Maps plugin, so we are going to make use of that.
Modify home.ts to reflect the following:
import { Component } from '@angular/core';
import { NavController, Platform } from 'ionic-angular';
import { GoogleMap, GoogleMapsEvent, GoogleMapsLatLng } from 'ionic-native';

@Component({
  selector: 'home-page',
  templateUrl: 'home.html'
})
export class HomePage {

    map: GoogleMap;

    constructor(public navCtrl: NavController, public platform: Platform) {
        platform.ready().then(() => {
            this.loadMap();
        });
    }

    loadMap(){

        let location = new GoogleMapsLatLng(-34.9290,138.6010);

        this.map = new GoogleMap('map', {
          'backgroundColor': 'white',
          'controls': {
            'compass': true,
            'myLocationButton': true,
            'indoorPicker': true,
            'zoom': true
          },
          'gestures': {
            'scroll': true,
            'tilt': true,
            'rotate': true,
            'zoom': true
          },
          'camera': {
            'latLng': location,
            'tilt': 30,
            'zoom': 15,
            'bearing': 50
          }
        });

        this.map.on(GoogleMapsEvent.MAP_READY).subscribe(() => {
            console.log('Map is ready!');
        });

    }
}
We first import the relevant GoogleMap classes from Ionic native so that we can use them in our loadMap function. We are also importing and making use of Platform so that we can detect when the deviceReady event has fired before running loadMap, so we know that the plugin is loaded and ready to use before we attempt to use it.
The loadMap function can simply create a new map by supplying the id of the element we added in our template, like this:
this.map = new GoogleMap('map');But we also supply an options object to control some defaults for the map, like setting the camera to a specific latitude and longitude (which in this case is my home city of Adelaide). There’s a ton of options available, so make sure to check out the documentation for more.
Finally, we are listening for the MAP_READY event and then log out a message to the console. Although we aren’t doing anything here, if you wanted to do some things like add some markers to your map, it would be a good idea to first wait for the MAP_READY event to fire.
5. Test on a Device or Emulator
As I mentioned, you won’t be able to run this plugin through the browser, so you will have to test it on a real device or emulator. You can do that by plugging in your iOS or Android device and running:
ionic run ios --device
or
ionic run android --device
If all goes well, you should see something like this:
Summary
This was a very basic introduction to the Google Maps Native SDK, but it is a bit of a tricky one to set up. In future tutorials we will cover how to take advantage of some of the more advanced features.


